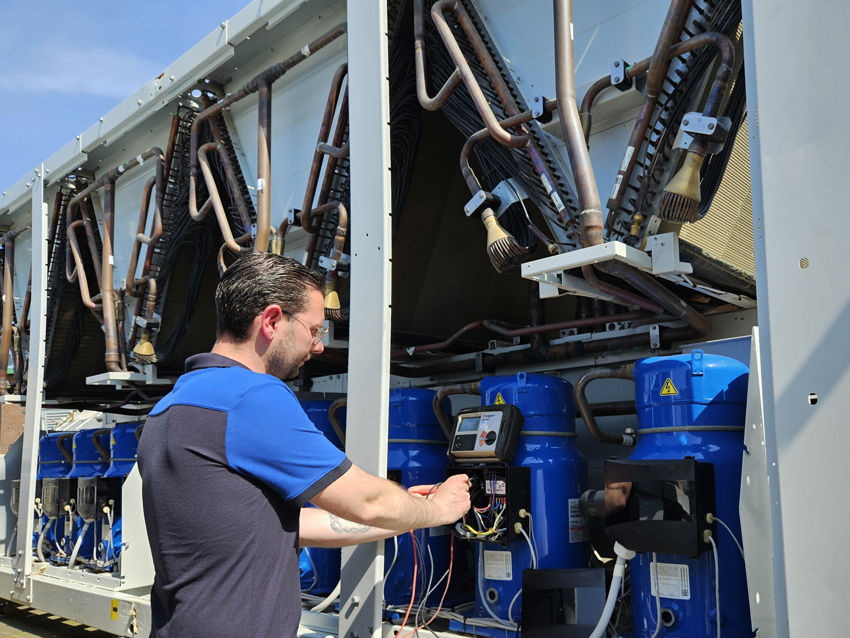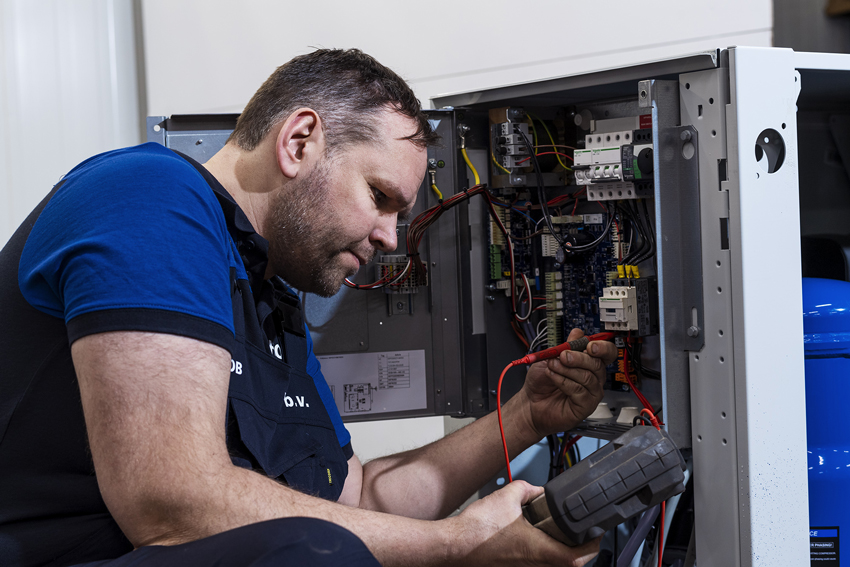
How we test a water chiller:
Visual inspection
The first step in testing a water chiller is checking all components visually. We look for any water or oil leaks, if the fans look in good shape for an air-cooled model and we check if the water pump, control box, condenser, piping, and mounting points are not damaged.Electrical testing
If all components look in decent shape, we perform a Megger test on the compressor(s), fan(s), and water pump(s). The Megger device is used to test resistance and insulation. Meggers use a high-voltage, low-current DC charge that measures the resistance within wires and motor windings to identify current leakage and faulty or damaged insulation. With a Megger test, we can verify the integrity of the wires in a machine.Clean components if necessary
We inspect the water/glycol filter for any accumulation of debris or contaminants. If detected we clean or replace the filter as needed to ensure uninterrupted flow and system performance.The plate- or shell and tube heat exchanger gets inspected for any fouling, scaling, or deposits that could hinder heat transfer. We clean them if necessary to restore the efficiency of heat exchange.
Cleaning the condenser ensures effective heat dissipation, maintaining the chiller’s overall cooling capacity .
Final test with water supply
We place the unit in a test room. This space is equipped with heat recovery to cool or heat at the desired temperature. We run standard tests with the unit set at 12 °C water in, and 7 °C water out.If a customer runs with different Temp in and Temp out, then we will configure those temperature setpoints in the unit.
Water is connected to the chiller. We start the chiller in its automatic mode and complete a test report with the following data:
- Pressures
- Temperatures
- Water flow
- Output capacity
- Absorbed current
- COP performance
The final steps
When the chiller works as expected, it gets sent to our washing station. The chiller gets an industrial cleaning with an organic cleaning agent. If necessary, the paint is touched up in our spray paint room. When the unit is in an acceptable visual state it gets prepared for safe transport.